Creating Annotations and Translations
Try It Yourself (6 steps)
Creating Annotations
Click here to pull in the data for this tutorial. The sequence pTypeIIS will be added to a project called Training and opened for you.
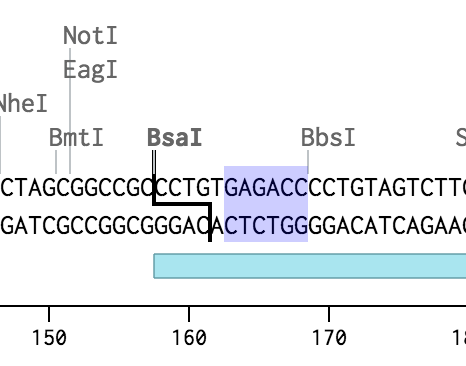
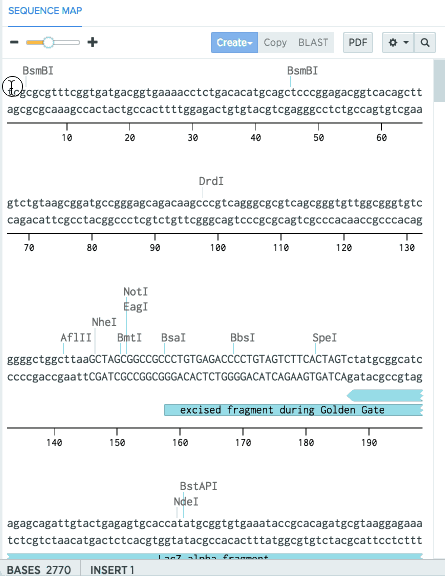
We are going annotate a BsaI recognition site, since Benchling only shows cut sites by default.
-
Open pTypeIIS, and hover over BsaI (base pair 158) to show the recognition site (GAGACC). Select it.
-
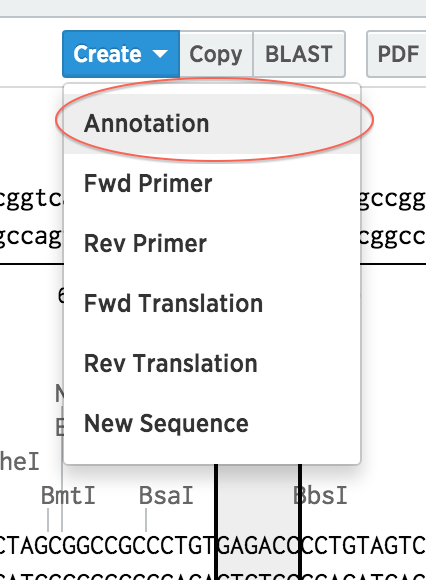
Click Create at the top of the map, then click Annotation. (You can also right-click on the selection, and click Create Annotation).
-
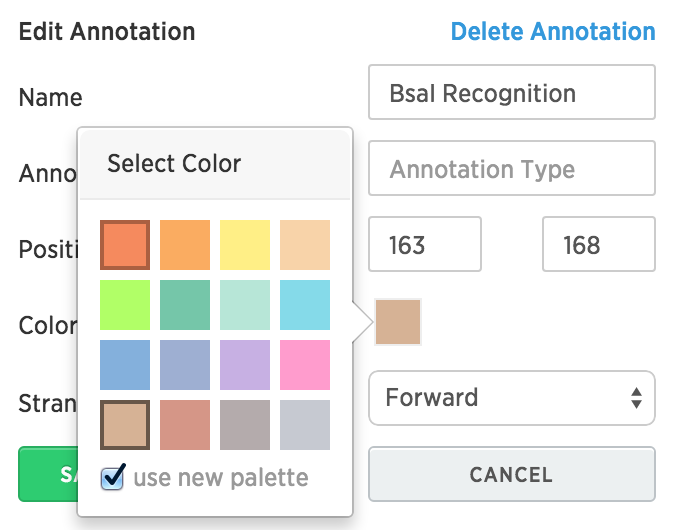
Name the annotation “BsaI Recognition”, and save it.
-
Close the panel. Double click on the annotation to open the panel up again. Change the color of the annotation to red, and save it again.
-
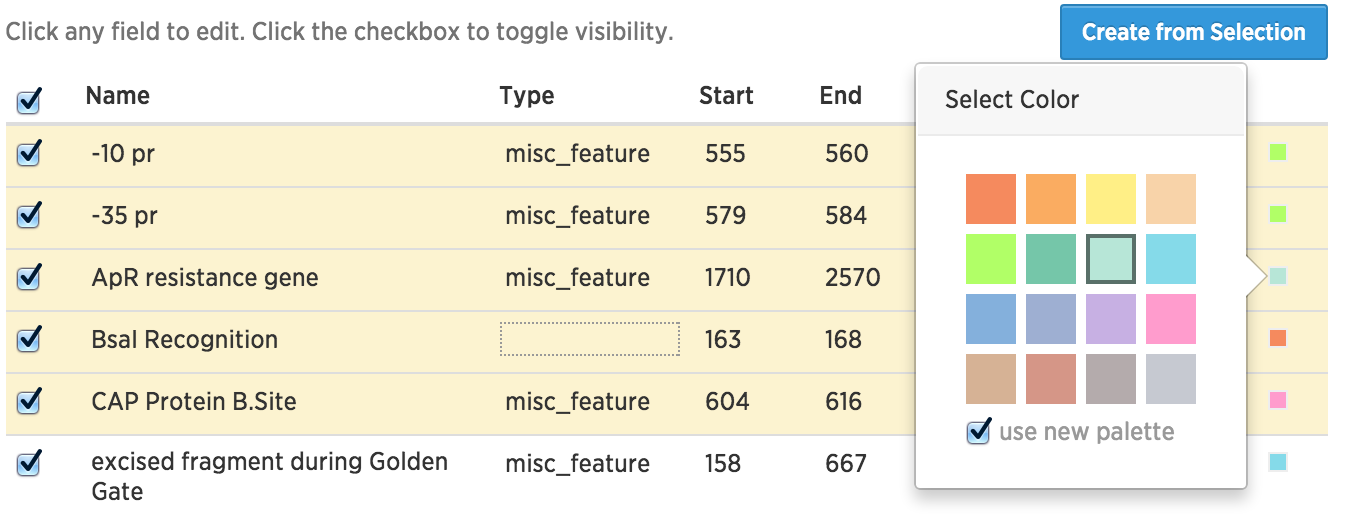
Benchling also allows us to change multiple annotations simultaneously. From the annotation panel, click on Expanded View. Select the first five annotations by shift-clicking. Click the colored square at the right, and click on red.
-
Click the trash can icon at the top to delete these 5 annotations.
Creating Translations
-
Open pTypeIIS, and hover over the annotation “LacZ alpha fragment.” Select it.
-
Click Create at the top of the map, then click Translation. Select the reverse strand as the coding strand. (You can also right-click on the selection, and click Create Translation). Your translation will automatically be indexed.
Pro Tip: Keep indices continuous between two translations by linking translations. Click on the annotations icon and open Expanded Translations. Press the checkboxes and click link translations to link two translations.
![]()